You can make maraschinos, you ask? Why yes, you can! They're easy, tasty, and perhaps as a bonus they lack the neon color of the things you buy in a jar.
I use this recipe from the OSU Extension Service. It's an oldie but goodie (I've confirmed with OSUES that the recipe is still current). Homemade maraschinos are softer than commercially prepared cherries, but after using them several different ways I've found no problem with them.

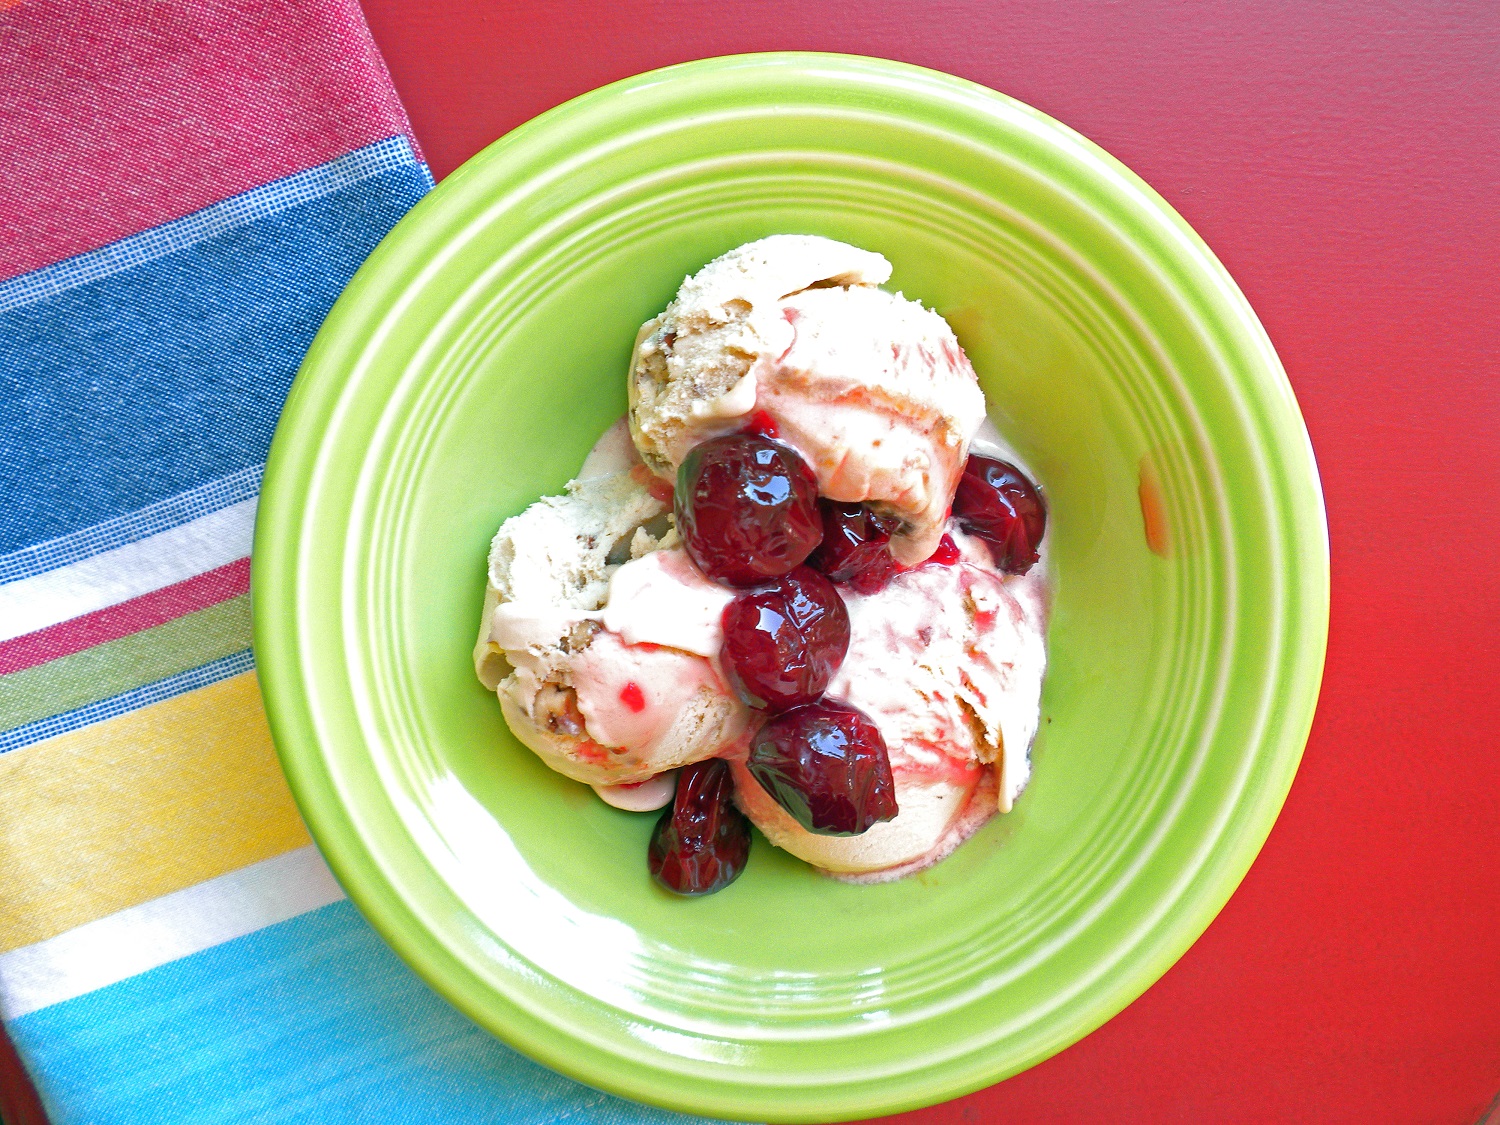
Maraschino cherries are perhaps most frequently used in drinks. They make a wonderful addition to spritzers, along with a little bit of the juice. But they're also great as a topping for ice cream, or oatmeal, or granola. 
You may have noticed that the cherries in the pictures look dark. Indeed they are: Rather than the Royal Anne Cherries (similar to Rainier) called for in the recipe, I used locally grown sweet dark cherries. They look and taste just fine, although as mentioned above they are on the soft side (I chose not to add the optional alum). And since I was starting out with dark cherries, I omitted the red food coloring.
The recipe notes that there will be excess juice left over. This is not an understatement. There is LOTS of juice left over. I add the juice to sparkling or seltzer water -- just a small spoonful or two makes a refreshing, low-calorie summer drink. You can reduce the juice down to a syrup to top pancakes or ice cream. The recipe suggests that the juice can be used as a base for fruit soups, which has got me thinking. The juice freezes well, so if you're not sure what to do with it, you can always put it away until you have a need.
Another use: Preserved maraschino cherries make a great gift from the kitchen!
This recipe is made over 3 days, so you may wish to plan ahead. The most labor intensive part is the initial one: pitting all those cherries (I have successfully halved the recipe when I don't want to face pitting 4.5 lbs of cherries). Subsequent days are for the most part just bringing the cherries to a boil, then letting them stand for 24 hours. On the final day, the cherries are again brought to a boil and then processed in a water bath canner.
When processing the cherries, don't forget to sterilize the jars if you process them for less than 10 minutes or to make altitude adjustments to the processing time if you live above 1000 feet sea level. At the end of the processing time, turn off the heat, uncover the canner, and let the jars sit for 5 minutes before you remove them. Let them cool for 12 hours or overnight, then check the seals. Store in a cool dark place until you're ready to enjoy them.

Cheers!